Homes
Listing photos, brightened and levelled
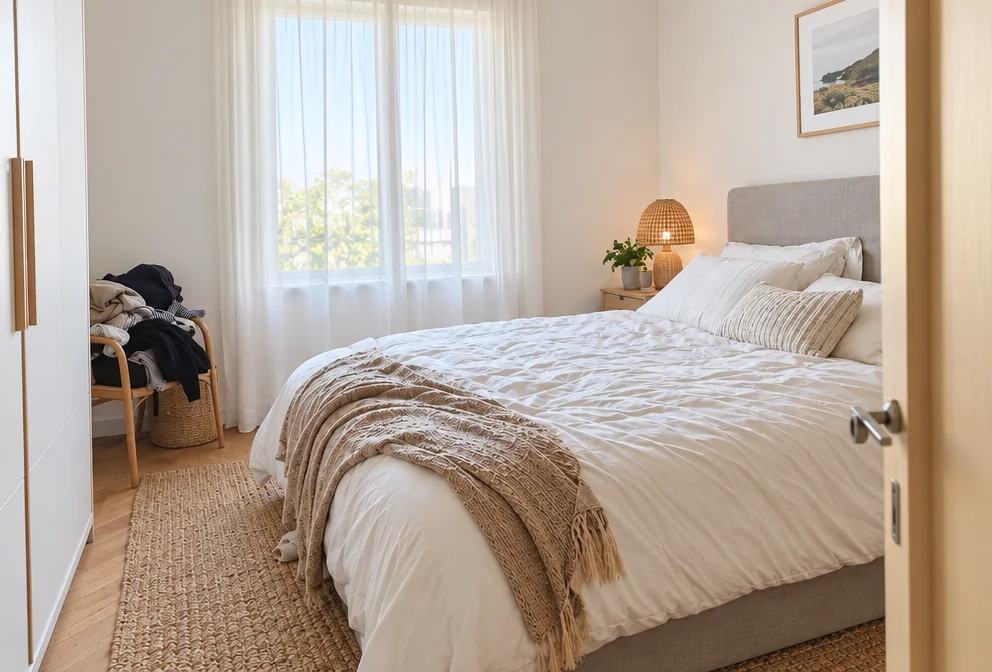
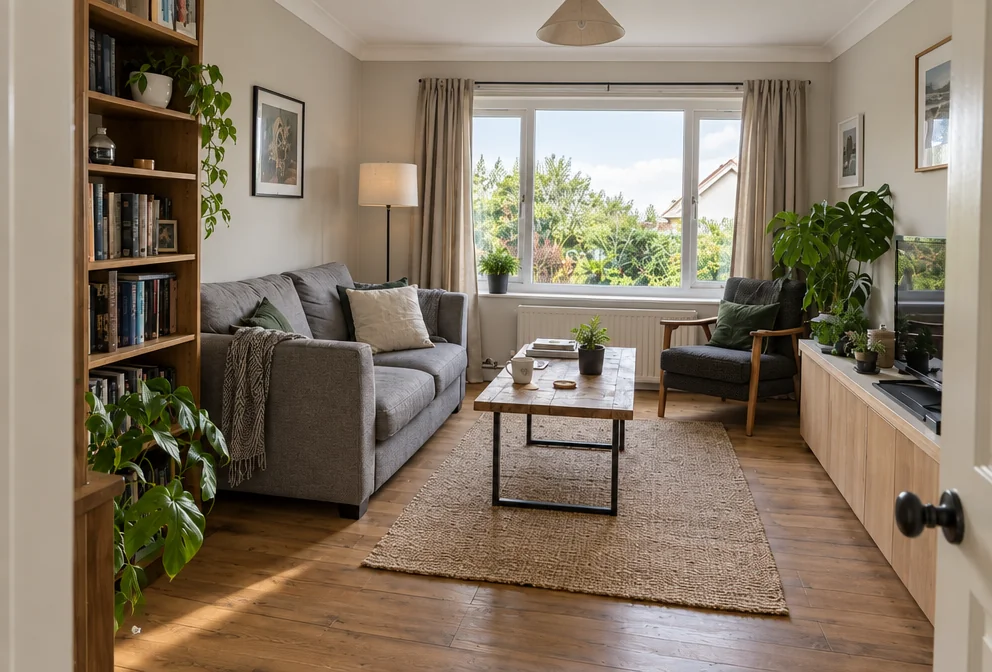
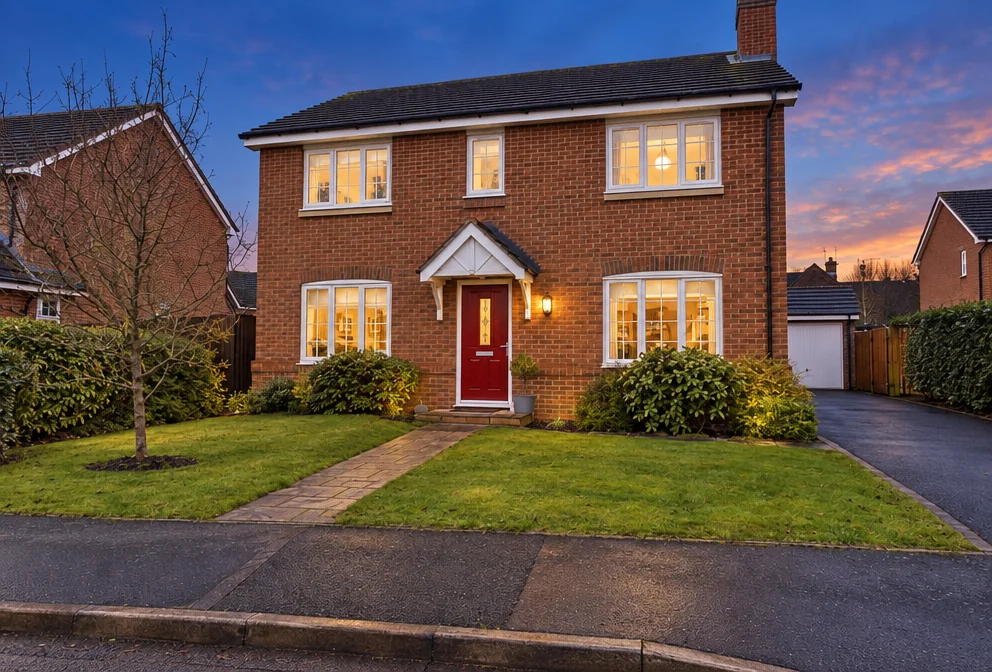
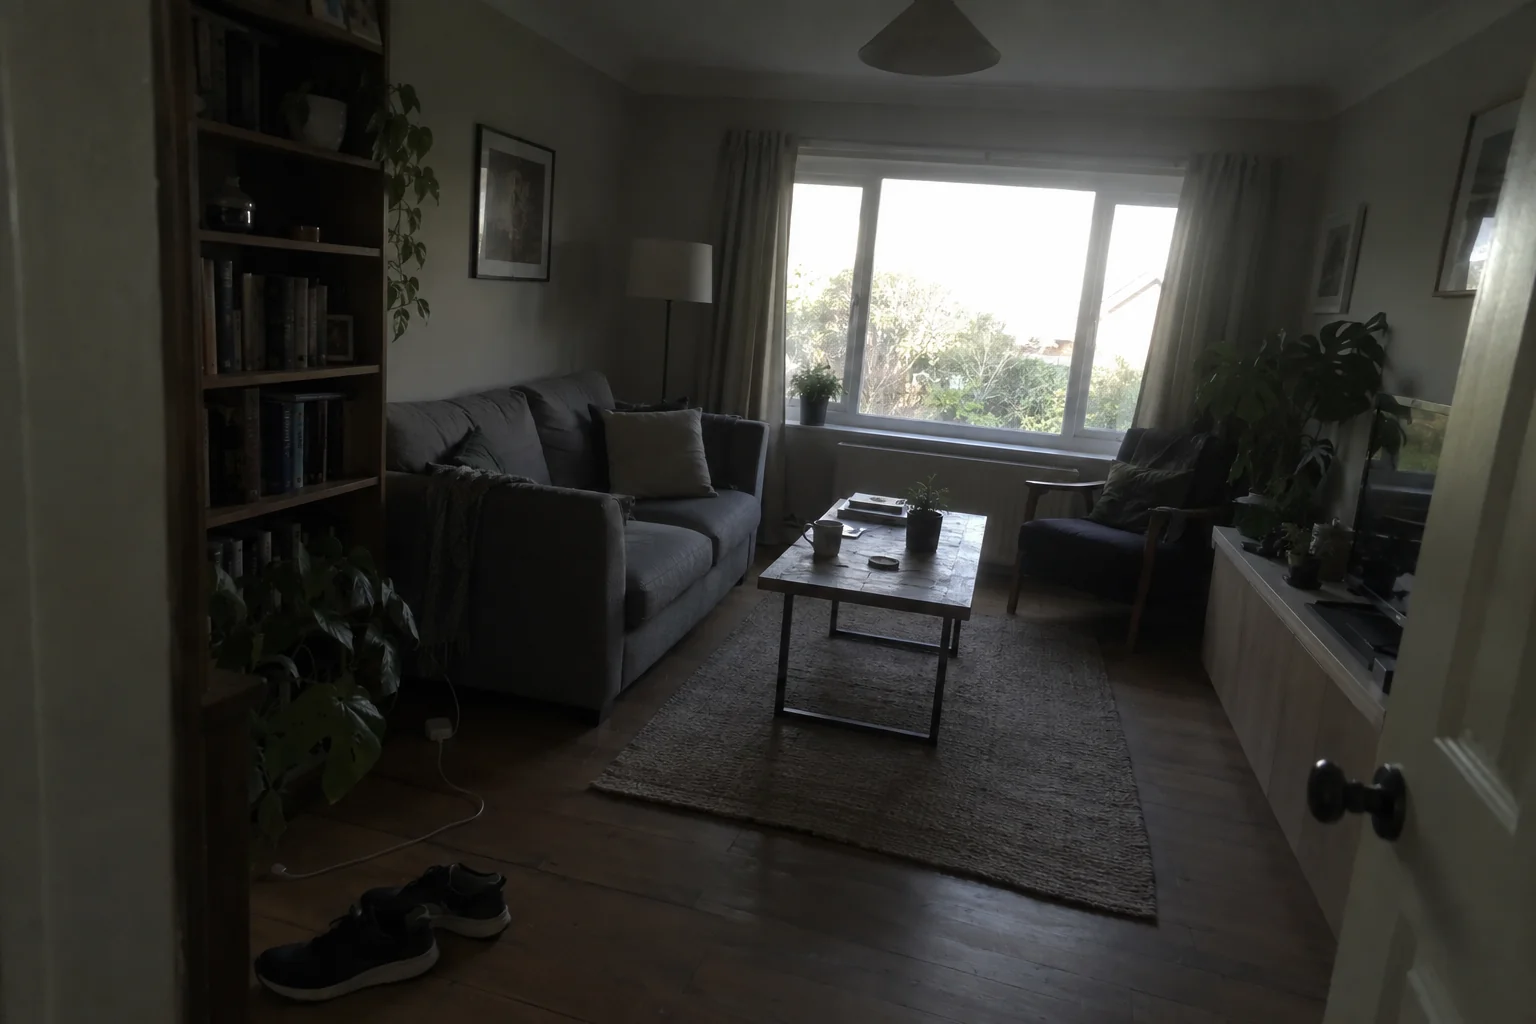
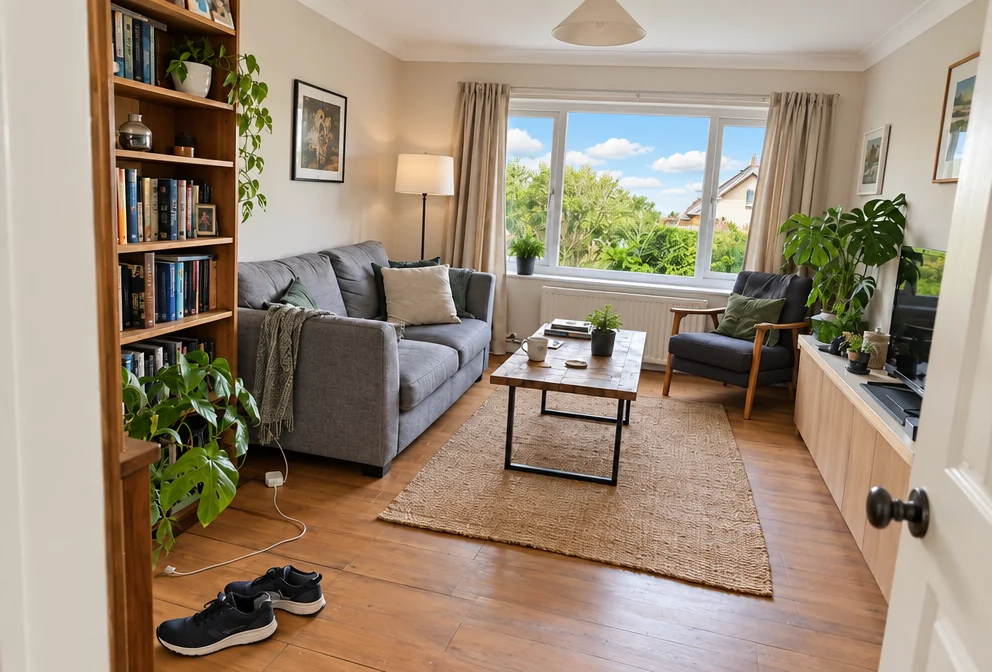
The viewing is on Saturday and the photos were taken on Tuesday between two other appointments: dark corners, a white rectangle where the window was, walls leaning inward. Real estate listing photos from the studio bring every room up to the standard of a professional shoot without changing what the property is.
You want the whole property done in a few minutes, with the exposure balanced, the sky blue, the walls straight and the true condition untouched. The studio corrects what phones get wrong in rooms and exteriors — exposure, window views, color casts, leaning walls, a flat sky — with the Auto setting, and leaves the property itself exactly as it is. Do the whole property in one sitting: each photo is a separate run, and real estate listing photos keep a consistent look when you use the same setting throughout.
4 free credits — one Standard run of any tool. No card needed.
Made for when
- The photographer's next slot is after the first open house
- Every window in the photos is a white rectangle
- The exterior was shot under a grey sky
- A private seller has a phone and a deadline
Step by step
- 01
Run Real Estate Photo Editor in the mode below
The standard listing polish, from a phone photo.
Real Estate Photo Editor - 02
Choose a specific sky with Sky Replacement
Clear blue for daytime, golden sunset or pastel dawn for a softer exterior; the scene is relit to match.
Sky Replacement - 03
Tidy the exterior with Object Remover
Loose items only — the property stays as it is.
Remove an Object